Car/Swap Background
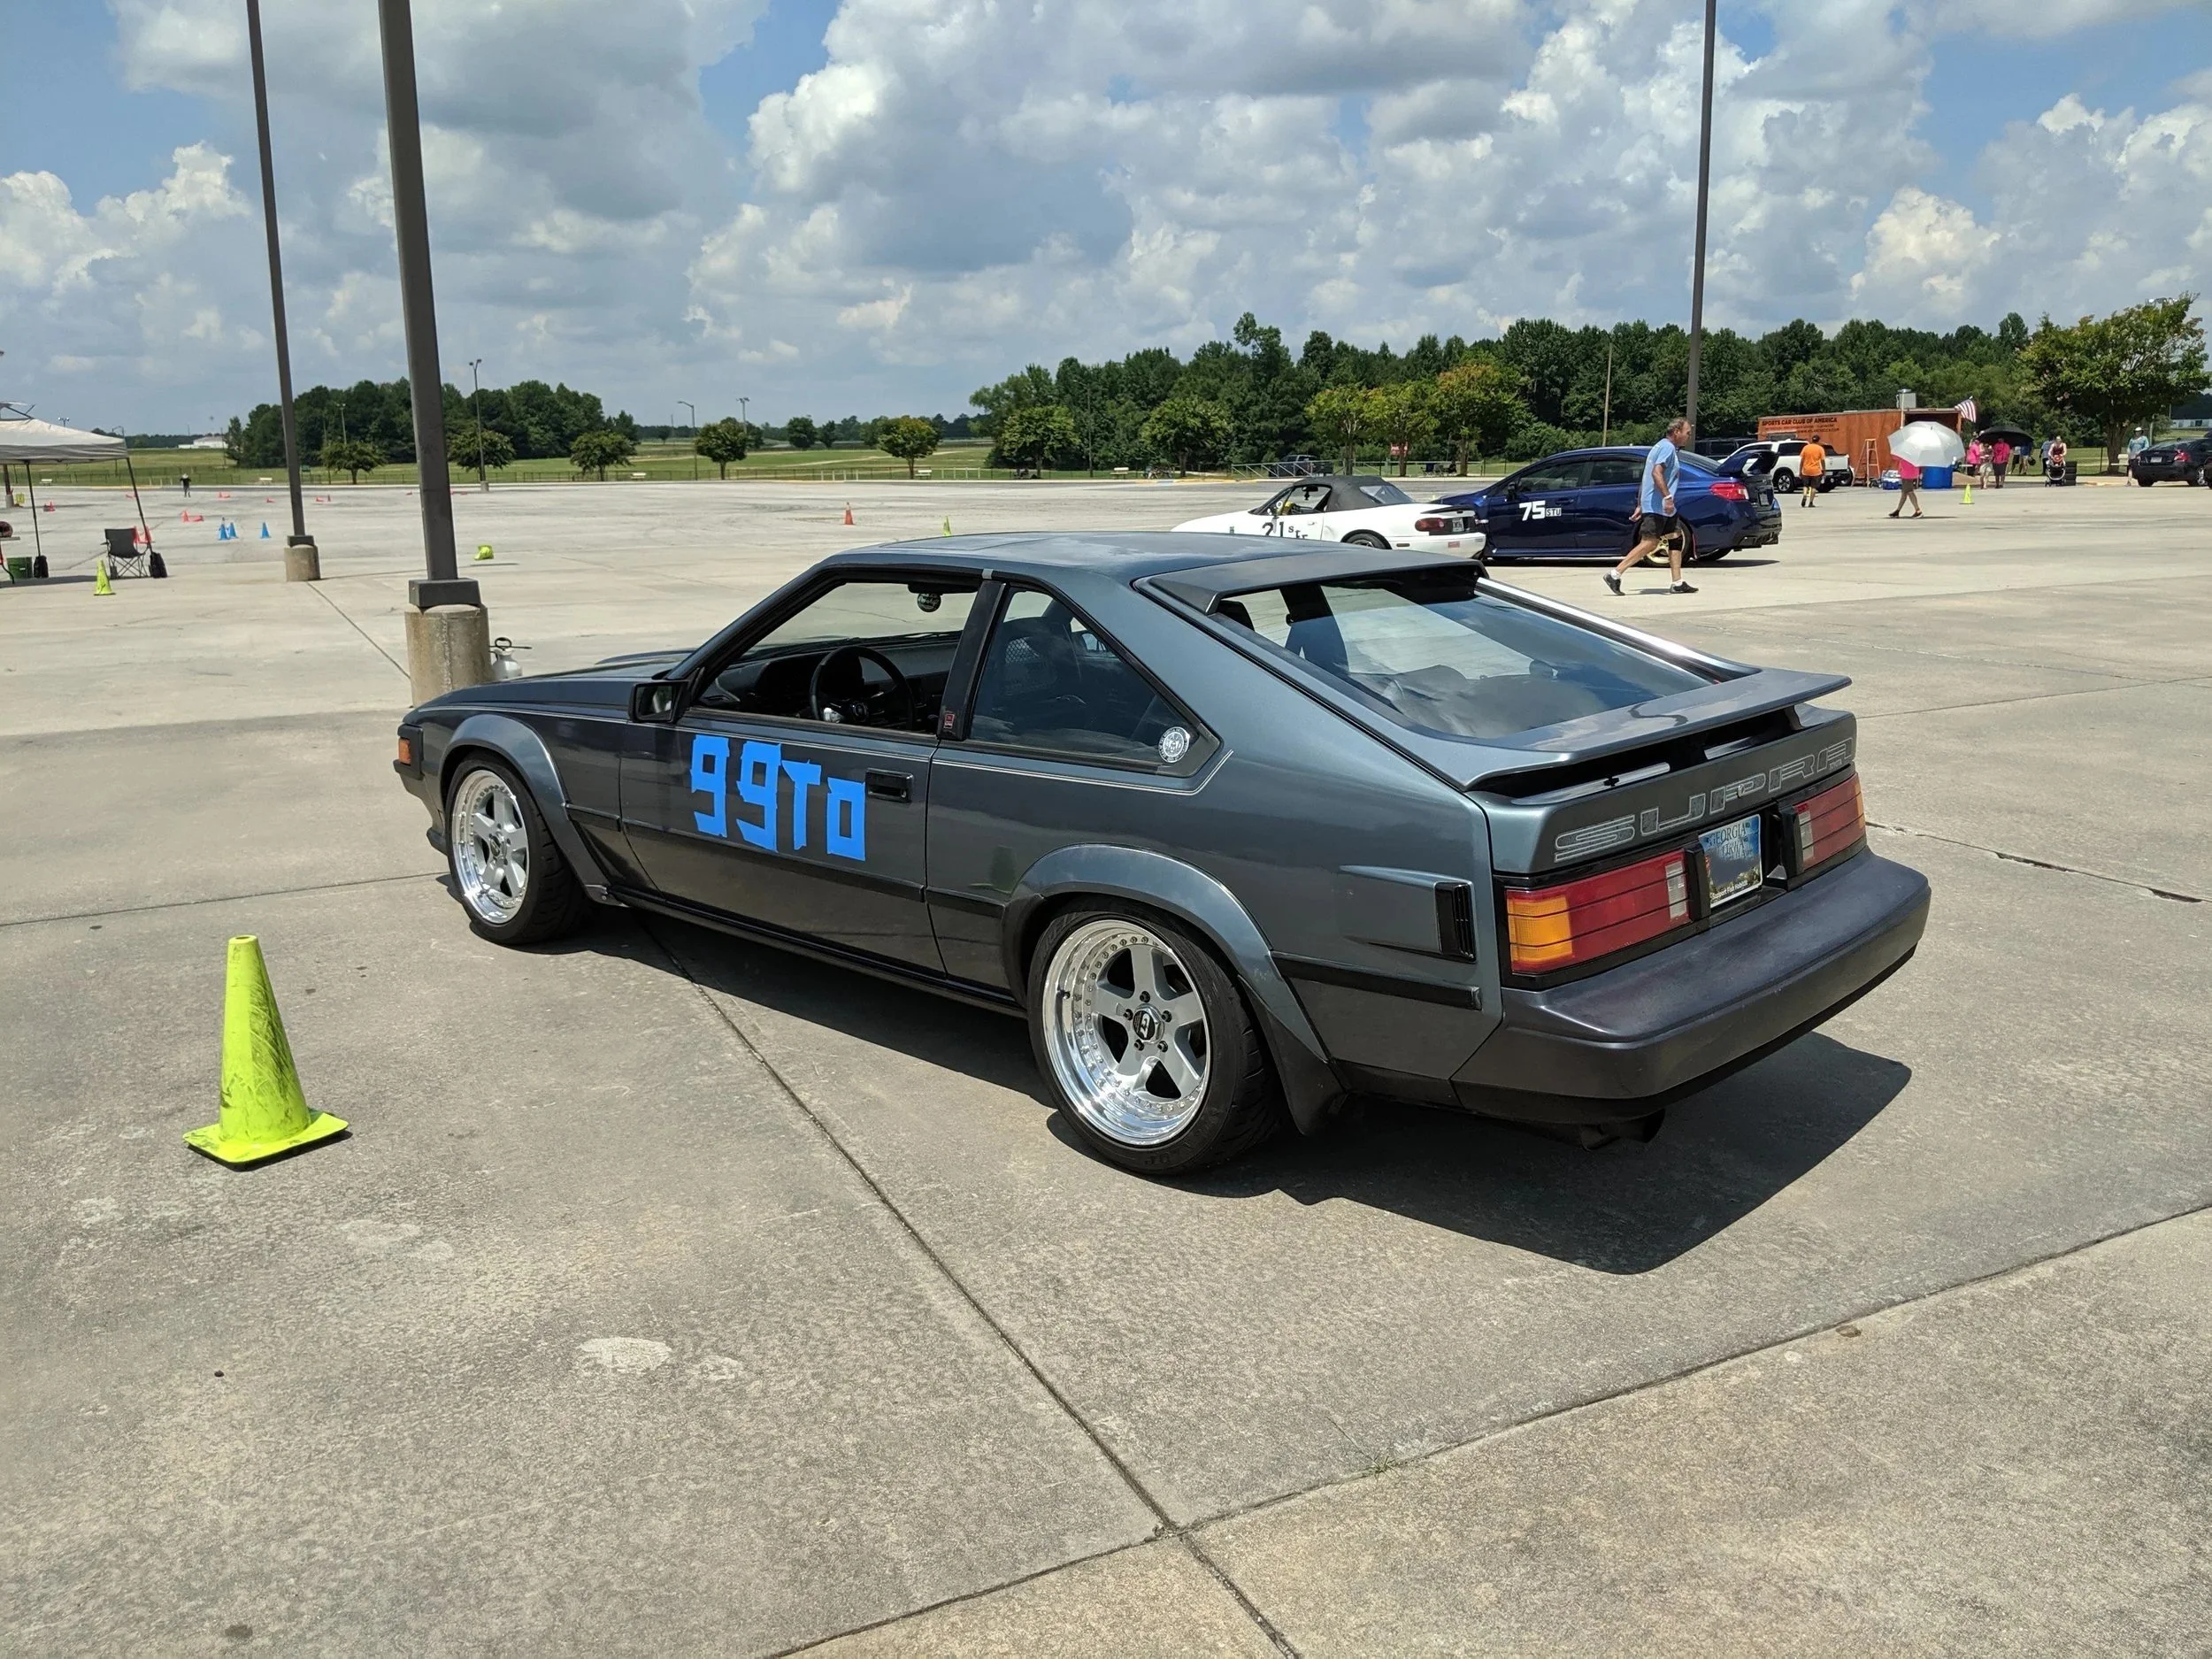
So, MK2 Supra, eh?
I’ve had this car for quite a while. At this point, I’m lucky enough to have other cars, hobbies, family, and time to spend on that stuff, so this stuff usually comes last. It’s been through a lot of stages, but here are some recent shots with the last engine setup: LS6/R154. I used an Advanced Adapters bellhousing for a Jeep/LS and a few other goofy bits to make it all work. The swap kept A/C, power steering, and working gauges. It’s also got a Ford 8.8 IRS setup that I designed, plus some cool ’80s Recaro seats.
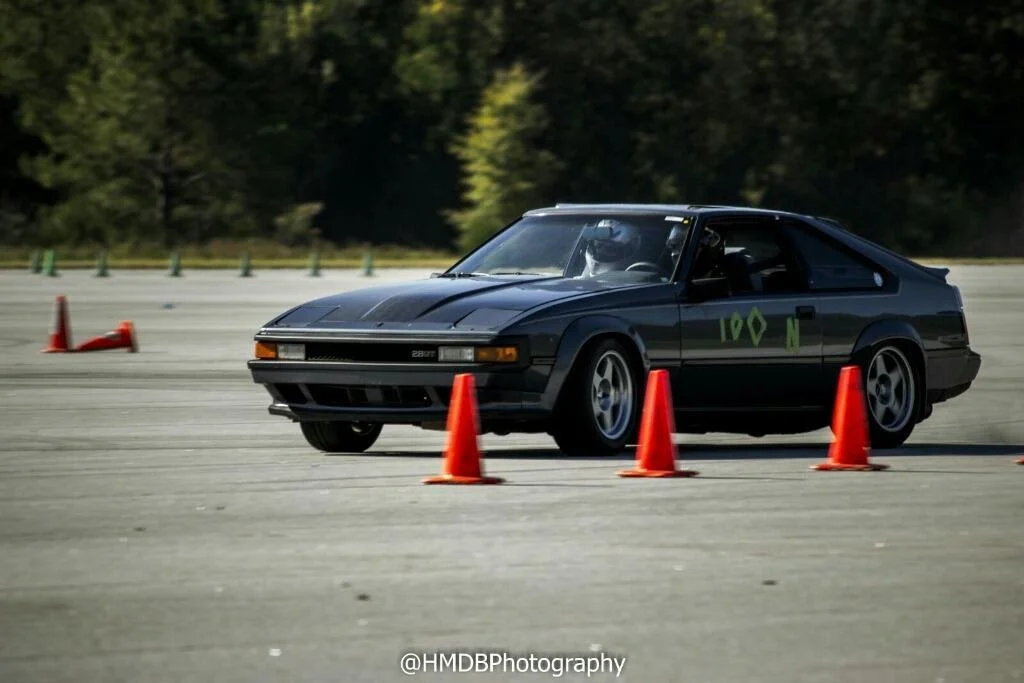


The car was quick, but I never really liked the rumble of the V8 and wanted to get back to the smoother feel of an inline-six. The LS and R154 combo isn’t exactly heavy for the power they make, but it’s still a lot of weight. I figured dropping some pounds would make the car more balanced and fun. I also wanted to stay naturally aspirated—just personal preference. At first, I thought about a 2JZ N/A build, but after looking into it, I realized it wouldn’t really save weight, and making solid power without boost seemed like an uphill battle.
I’d owned an E46 BMW 330i prior to my M3. The M54 and always felt like it had plenty of power for a street car, even in the heavier chassis. I considered an S54 as well but the cost/weight kept me away. In the lighter Mk2, a M54 should make the car move pretty nice. Plus, the M54 is aluminum, which is a big advantage over the iron-block 2JZ or an S54. Mine weighed in at 340 lbs with accessories and no clutch or flywheel. I have an 8 lb flywheel and clutch (weight unknown). I’d imagine I will be around 360lbs installed. The headers are also smaller and lighter. I’m planning to run S54 ITBs along with a few other mods.
I measured the LS6 at around 505 lbs complete with all accessories and the clutch/flywheel. R154s are quite heavy as well so there were opportunities to drop a few pounds with a different transmission. The car weighed 2,980lbs with the LS setup—this was with a full tank and a spare. It was also prior to the 8.8 swap which I believe weighs a little less than the stock diff. I was surprised at the front bias when I weighed the car. A light battery and removal of driver side headers should help with those front cross-weights.


BMW M5X series inline engines sit at a 30 degree angle in their factory chassis. Because of the firewall shape, keeping that angle would have pushed the engine 1–2 inches further forward in the Mk2. This would have screwed up packaging, blah, blah, blah. So, I decided to rotate the motor to a more upright position. Twelve degrees would have been perfect.
That meant I needed either an adapter plate or bellhousing modifications to keep the transmission in the right spot. I couldn’t figure out a way to make it work with a BMW transmission without significant welding and machining, so I started looking at other options. A W58 seemed like the easiest choice, so I went with that.
A W58 is 30-40lbs heavier than a R154. No pictures of these weights unfortunately. These gearboxes are known to hold ~300hp/300ft-lbs in cars of this size so I’m not worried about durability. In my experience, they shift much nicer than R154s as well.
I took a ton of measurements and modeled everything up. I found a full S54 CAD model online, but it turned out to be wrong in quite a few dimensions. Some internet deep dives and RockAuto datasheets helped me piece it all together. A single-mass S52 clutch and flywheel fit the engine. A 2jz clutch disc is the correct diameter and fit the splines of the input shaft. Flipping the disk made everything line up. A stock 2JZ pilot bearing should work too. The adapter is around 1in thick (I don’t remember the right value off hand) to match the tall clutch to the shallow 2JZ bellhousing. An engine angle of 7 degrees ended up being the magic number to allow for starter clearance and a bolt pattern arrangement that would work with sufficient fastener clearance. That setup should fit great in the car.


This meant I would need a custom oil pan. Modeled all of that stuff, designed a pan, and had parts cut.


But, everything didn’t really work out the way I wanted.
Insert: oil pan TED talk.
The engine tilt design makes things weird when you stand the engine upright, or in my case, at about 10 degrees. The oil pump is mounted off-center so it sits parallel with the crank when installed at 30 degrees. This puts it above the oil fill line. I originally designed a front-sump pan, but the pump and timing chain would have been partially submerged in oil most of the time. This sketched me out because: a) I expected this would aerate the oil and create pressure issues at high RPMs/temps (aggressive driving or track use), and b) I didn’t know how the pump/chain/engine would behave with extra oil aeration. I was concerned it might cause oil consumption or other unknown issues—basically, unknown unknowns.
Anyway, I re-designed the oil pan as a rear-sump setup that keeps the oil pump submerged most of the time, but not the main supply of oil. I think this is how most track E36/E46 cars run, since they typically run a bit over-full to avoid pressure issues under cornering Gs. Those cars don’t seem to have oil pressure problems.
The sump of the pan has no baffles, but I believe I can run it completely full to the top of the sump. I’m not sure if baffles are necessary. There’s a small drain location from the main pan, which should help act as an “upward baffle.” This is similar to how the S54 pan is designed. I’m not sure how far the oil level is from the sump ceiling on those engines—I need to pull my other car apart and check. E46 M3s don’t have pressure issues on track, so it felt like reasonable logic. The oil level will sit about ½ inch from the windage tray. I hope that will be enough to avoid power loss.
When I welded the pan, I had minor seeping that I couldn’t resolve with my weld setup. I had the same issue with the LS. The LS swap pan I built wept a tiny amount of oil, and I would have paid almost anything to fix it. So, I decided a giant machined section of the pan was worth it. I’ll still need a small burn/bend section for the sump and interface areas. However, it should weld cleanly and seal nicely because the surfaces are perfect 90s. This also makes the final weldment less prone to warping and gives it a sleek internal finish.
I redesigned everything, 3D-printed a couple of test pieces, and sent it off to Protolabs to be machined. I should see it in a couple of weeks. The sump is designed and in-house as well. I just haven’t welded it.
Thanks for attending the TED talk.


I’ll cover the motor mounts, headers, and ITB’s next.
